So, I had surgery yesterday. I deal with skin cancer on a site-by-site basis, and I needed to have another one removed. This one was at the end of a previous removal, so it was tougher for the doctor to get through the scar tissue and, while sewing me up, had to tug a little harder and longer to get the stitches in right. Needless to say, I was in a bit of pain yesterday, and still am today. However, I'm able to sit up and relax. Therefore, I can post! :)
{TONIC TUESDAY}!!!
Today, we're working with some GNOMES!!! I absolutely LOVE our Gnomenclature and Gnome Sweet Gnome sets!!! Stampin' Up! just keeps coming up with the cutest of the cute!!! Just enjoy making your own version!
Here is my inspiration piece by a fellow Stampin' Up! Demonstrator, Dana Mosley. Just LOVE it!!!

So, let's get started on our own!

and fold in half. Decide what card orientation you want: Tent- or Side- open style.
For the Side-open style, use the dimensions listed.

Take a piece of Marina Mist Cardstock, and trim it to 4-1/4" x 2-5/8",

Using an Edge Punch, make your mark on one 4-1/4" side of your Marina Mist layer.
Now, get yourself some Crumb Cake Classic Ink and a Stamping Sponge.

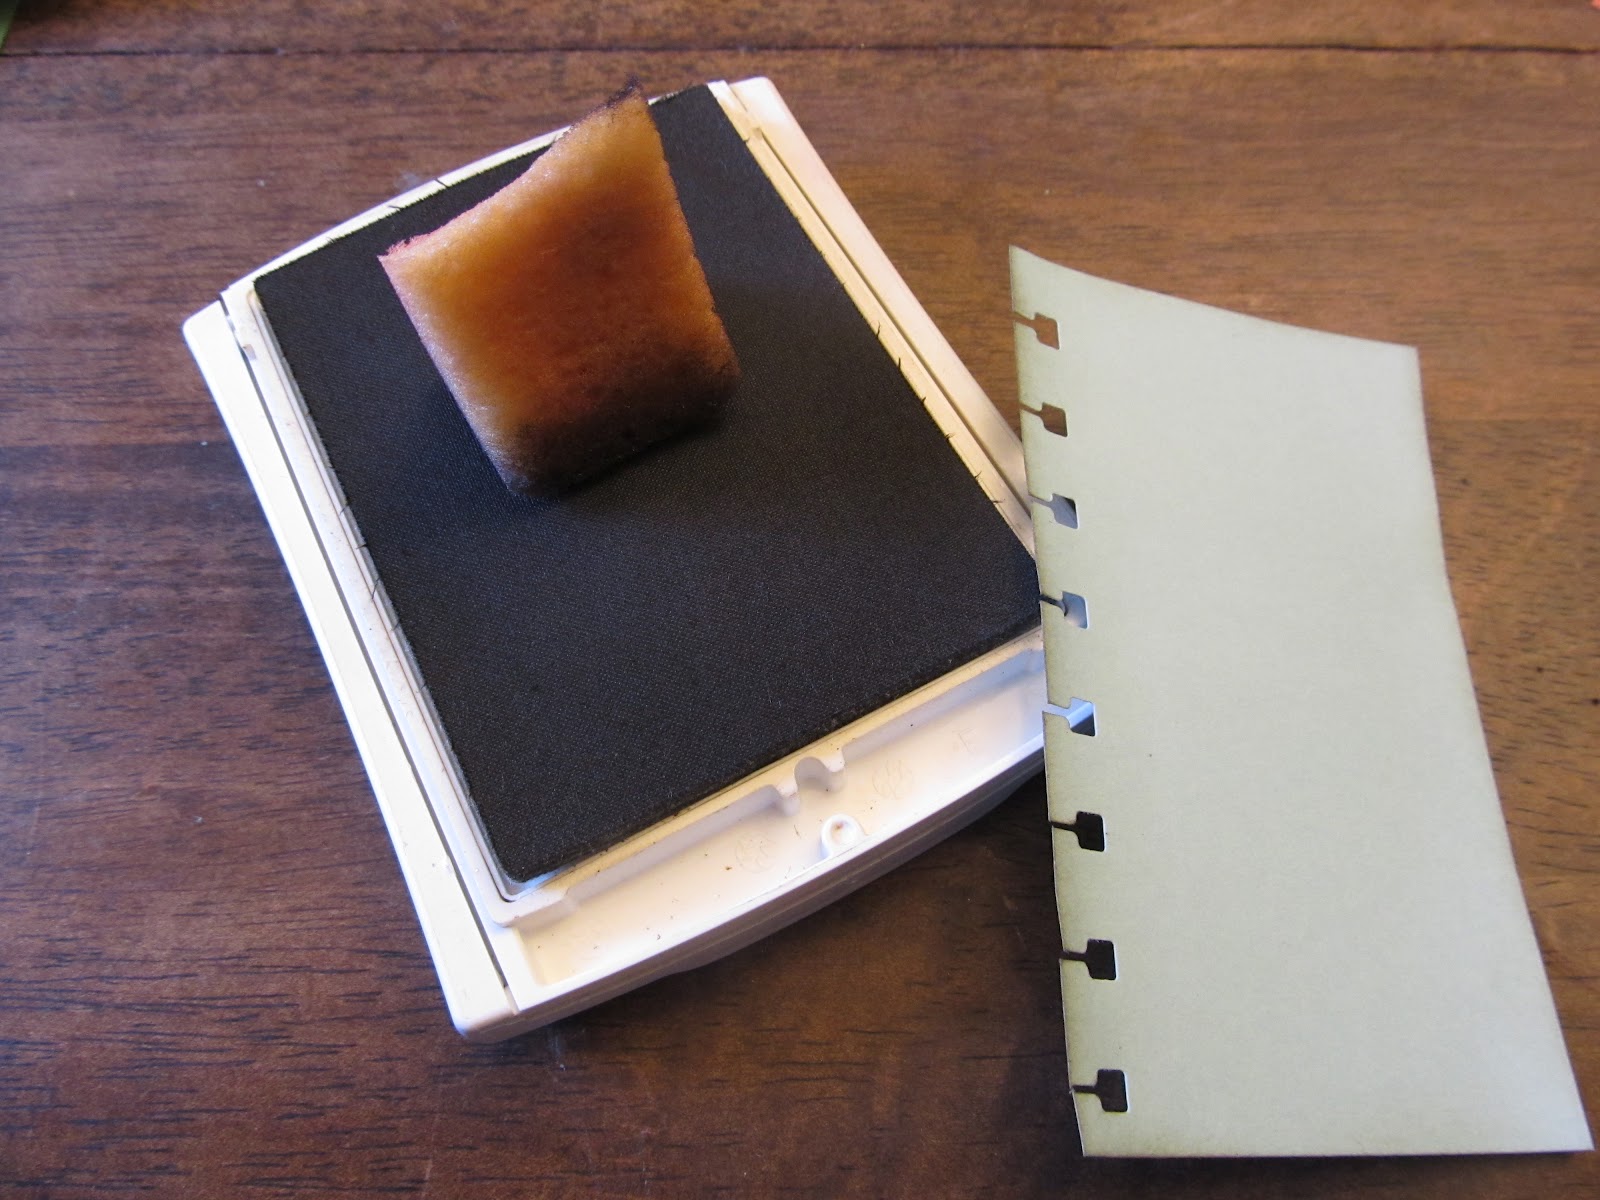
Ink up your Sponge and ink the edges of your punched paper.

Mount your Just Add Cake DSP to it, using your
Snail Adhesive. Then, adhere it to your card front. Set it aside.

ARE YOU HAVING FUN YET?!

Now, with a piece of coordinating Cardstock (I've been using Stampin' Up!'s
'Getting Started' cardstock paper pack, Cajun Craze), trim yourself a strip that is 3-3/4" x 1-3/4".
I used two 1-1/4" Squares and our Postage Stamp Punch to make my builder squares out of the Just Add Cake DSP and Marina Mist cardstock!

Just find your 'center' (haha...pun intended...I needed a laugh!), and adhere your
1-1/4" Squares to the Cardstock strip.

Using your Stampin' Dimensionals, layer your Cardstock on top of your DSP.
Now, grab your Gnome Sweet Gnome and Gnomenclature stamp sets!!!
Also, get your Basic Black, Cajun Craze, and Marina Mist Classic Ink Pads along with your Blender Pens.
We're going to start stamping!!!

Using your Basic Black Ink Pad, ink your male and female Gnomes up, then stamp them onto a piece of Naturals White Cardstock.

Have fun coloring in your Gnomes! I used the Crumb Cake Stampin' Write Marker to color their hair. You only need to color in the top portion of the Gnomes.
If you need help understanding how to use the Blender Pens, please email me at StampinJenn@ymail.com --- I'll respond!

Using your 1" Square Punch, get the portion of the colored image that you want in the center of it and punch it out!

Again, with your Stampin' Dimensionals, layer your punches on top of the Cardstock.
Bring your card base back over!

Decide where you want your Gnomes to rest and mount them, using your Snail Adhesive.
Now, grab your Gnomenclature stamp set and choose a sentiment.

Using your Basic Black Ink Pad, ink your sentiment.

Stamp your sentiment right under your mounted layers.

Now, you're done!!! You can continue to embellish your creation, if you want, or just leave it simple!

Now, share it with someone you love. They'll be so happy to receive it!!!
Okay --- that's it for this {TONIC TUESDAY}. Let me know what you think! I'd LOVE to hear from you! You can message me 24/7 at StampinJenn@ymail.com --- I'll respond!
Make it a great day!
Jenn
I love these!! So stinking adorable. I would never have thought of coloring in just part of a stamp and cutting it out like that-- what a great idea!
ReplyDeleteThanks, Casey! I teach this and many other techniques at my classes! I'd love to have you join me some time AND I LOVE that you said "So stinking..."...LOL! I say "so stinkin'" quite often!!!
Delete